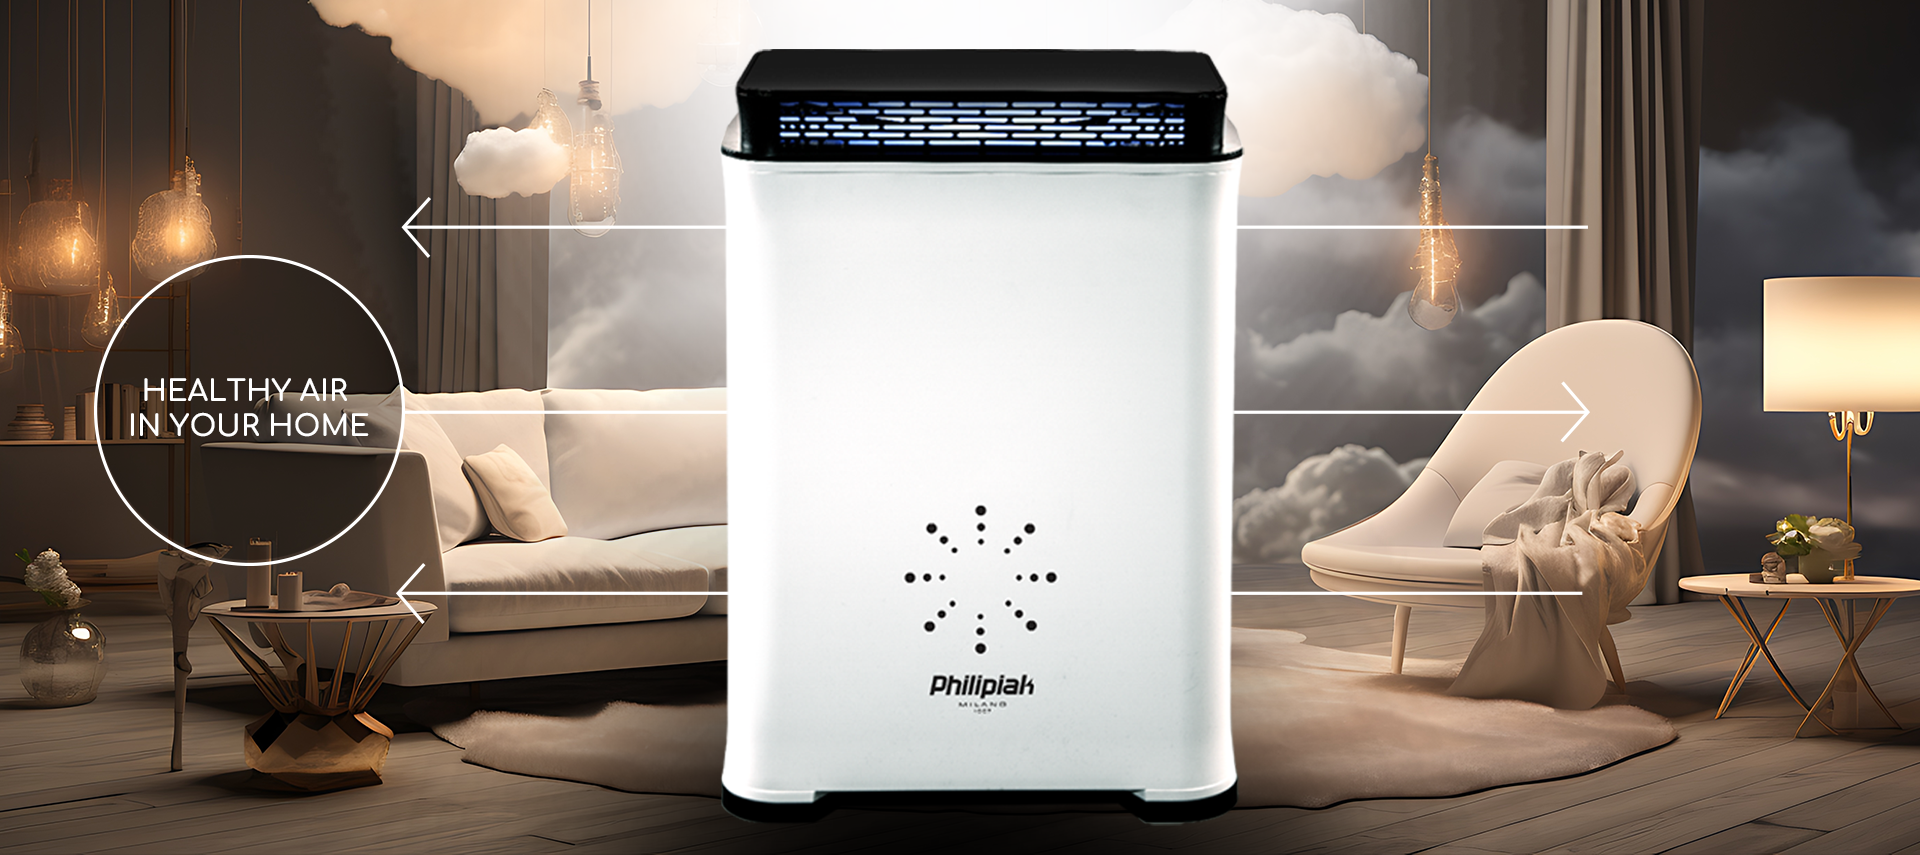
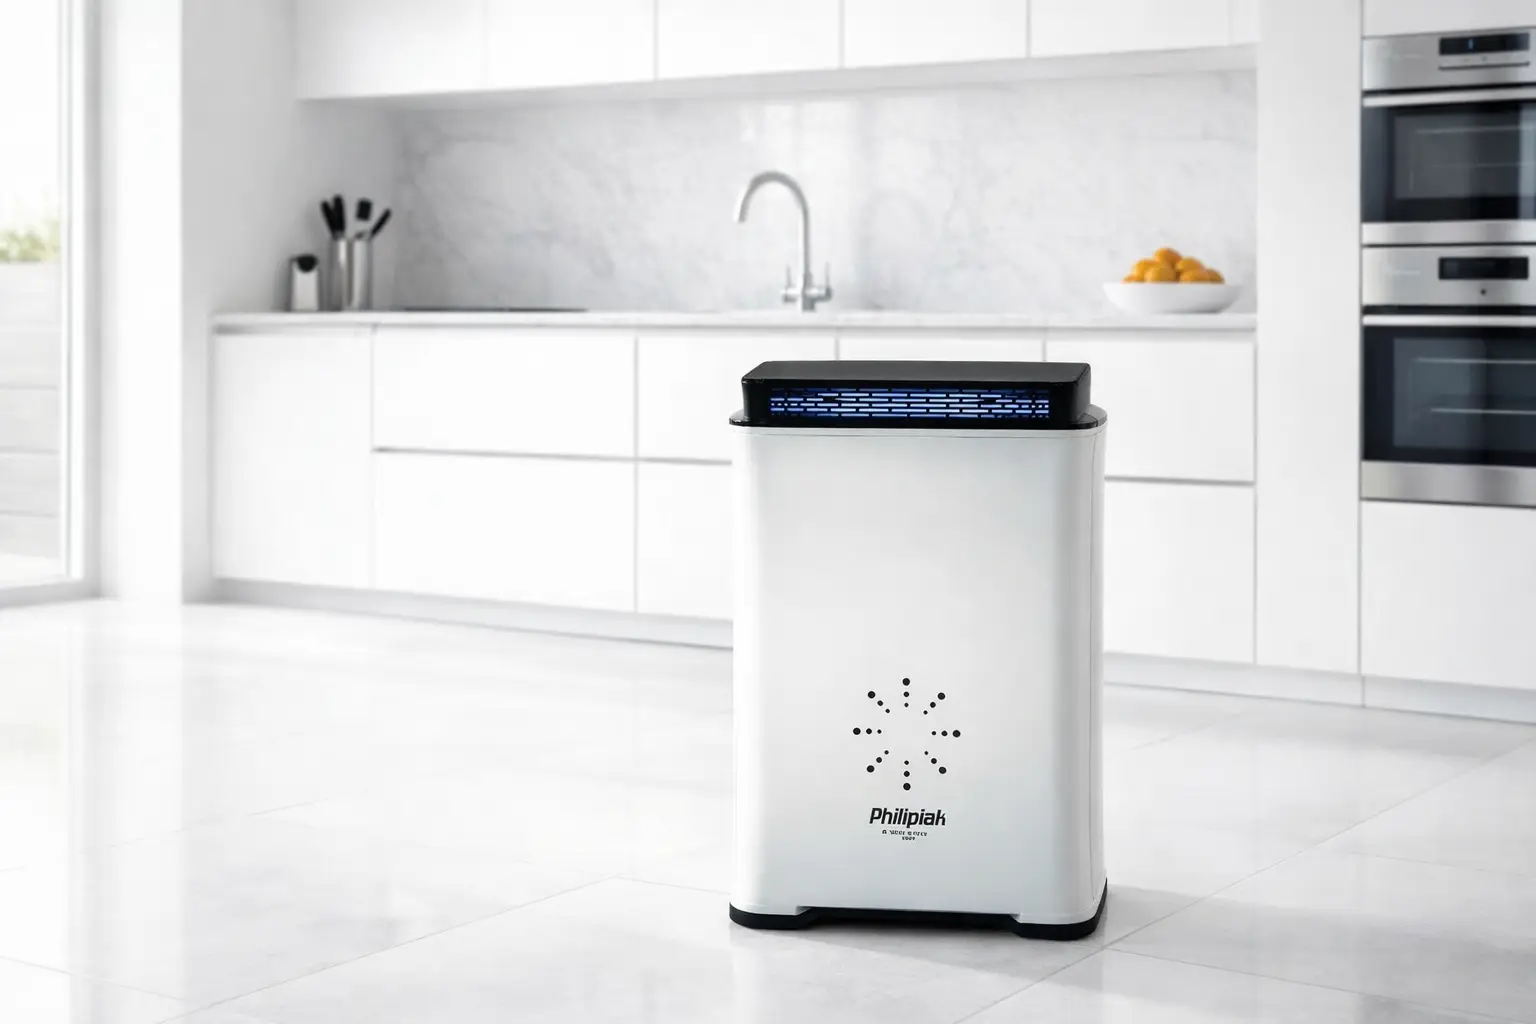
Improve breathing comfort

EFFECTIVE MULTIDIMENSIONAL
FILTERING
The air filter removes smoke and pollen, mold spores, fungi, viruses, bacteria, and chemical compounds. It combats unpleasant odors and concentrates negative ions.
FRESH AIR FEEL, ION BOOST
Releases negative ions that help airborne particles cluster and become easier to capture, supporting a cleaner-feeling indoor environment.
COMFORT HUMIDITY, EVERYDAY EASE
Adds moisture to help maintain a more comfortable indoor humidity level - especially useful during heating season or in dry rooms.
UV SUPPORT, CLEANER INSIDE
UV light supports the purification process by helping inhibit microorganism build-up on internal components, contributing to fresher operation over time.
ODOUR RESET, ROOM REFRESH
Ozone mode is designed for intensive odour neutralisation in enclosed spaces. use only as instructed and only in unoccupied rooms, then ventilate thoroughly.
MODULAR DESIGN
Replacing the filters built into the device is extremely easy and does not require any tools. Filters wear out depending on the intensity of use and the quality of the air in which the filter operates.
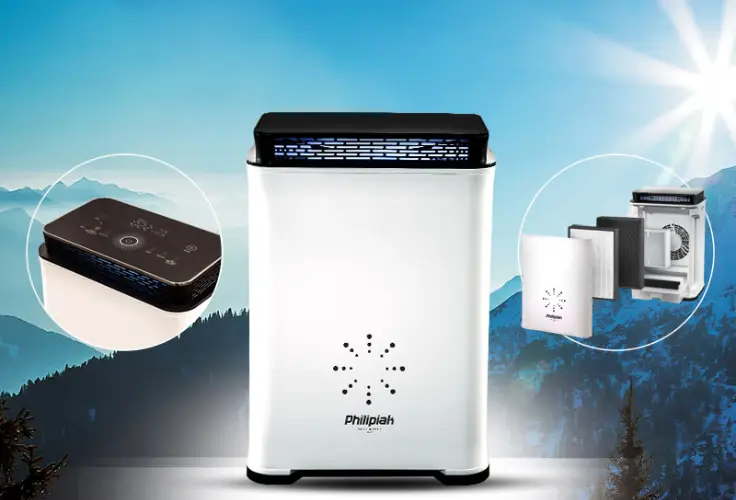
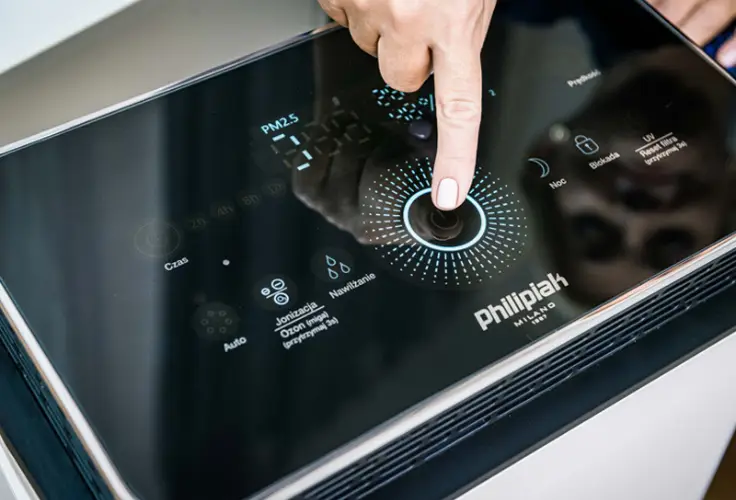
INTUITIVE CONTROLS
The air filter is controlled entirely via a touch panel, which features control buttons and function labels.
THE BRAND OF THE HIGHEST
QUALITY OF LIFE
Italian roots and innovation since 1967.
FAQ
Below you will find answers to the most important questions about Cookover. If you cannot find the information you are looking for, please contact our consultants, who will answer all your questions.
The "FILTERS" indicator on the control panel informs you when the filters inside the device need to be replaced. When it appears, it means that the filters inside the device need to be replaced.
It is not necessary to replace the orange filter in the water tank. To refresh it, simply rinse it under running water, then dry it and reinstall it. Replacement is optional and can be carried out at the user's discretion.
The air quality sensor is located on the left side of the side cover when viewed from the front of the device.
To program the operating time of the device, press the TIME button on the touch control panel. The available options are 2 hours, 4 hours, 8 hours, and 12 hours.
To activate/deactivate the ozone function, press and hold the "Ozone" button for 3 seconds.
When the function is active, the "Ozone" symbol flashes.
When the function is inactive, the symbol is off.
During the ozone treatment process, it is not recommended to remain in the room due to the effects of ozone. This also applies to animals.
There are no restrictions on the use of the humidification function; it can be activated at any time and operate continuously.
To replace the filter, first disconnect the device from the power supply. Then remove the front cover of the device and remove the used filter. First unpack the new filter, remove the protective film, and then place it in the same place as the previous one. The final step is to replace the front cover of the device. IMPORTANT: After each filter replacement, you must reset the device by pressing and holding the "Filter Reset" button for about 5 seconds.
To reset the replaceable filter, press and hold the "Filter reset" button for approximately 5 seconds.
Blue – air quality is good, particle concentration 0–49.
Yellow – air quality is moderate, particle concentration 50–99.
Red – air quality is poor, particle concentration ≥ 100.
Before performing any maintenance on the device, first ensure that it is completely disconnected from the power source. This is important not only for safety reasons.
Do not use strong chemicals to clean the device, as they may damage its surface or adversely affect its performance. In particular, avoid detergents such as bleach, alkaline substances, solvents, alcohol, kerosene, and removers.
The device should be cleaned regularly, preferably once a month. It is recommended to gently wipe the main housing and front cover with a soft cloth dampened with water. For more stubborn dirt, you can use a small amount of mild cleaning agent, but it should not contain alcohol or corrosive substances.
Particular attention should be paid to the maintenance of the HEPA filter with activated carbon. This component must not be washed with water. Instead, clean the filter with a vacuum cleaner once a month – simply remove any accumulated dust and other debris gently. Before reinstalling the filter, make sure it is completely dry. Correct installation of the filter is also important – the white side should face the inside of the device, while the green side should face the outside.
If the user does not set the operating time, the device will continue to operate until it is manually turned off.
Vacuum the replaceable filter and clean the air quality sensor by attaching the vacuum cleaner hose to it. If this does not help, contact the service department.